
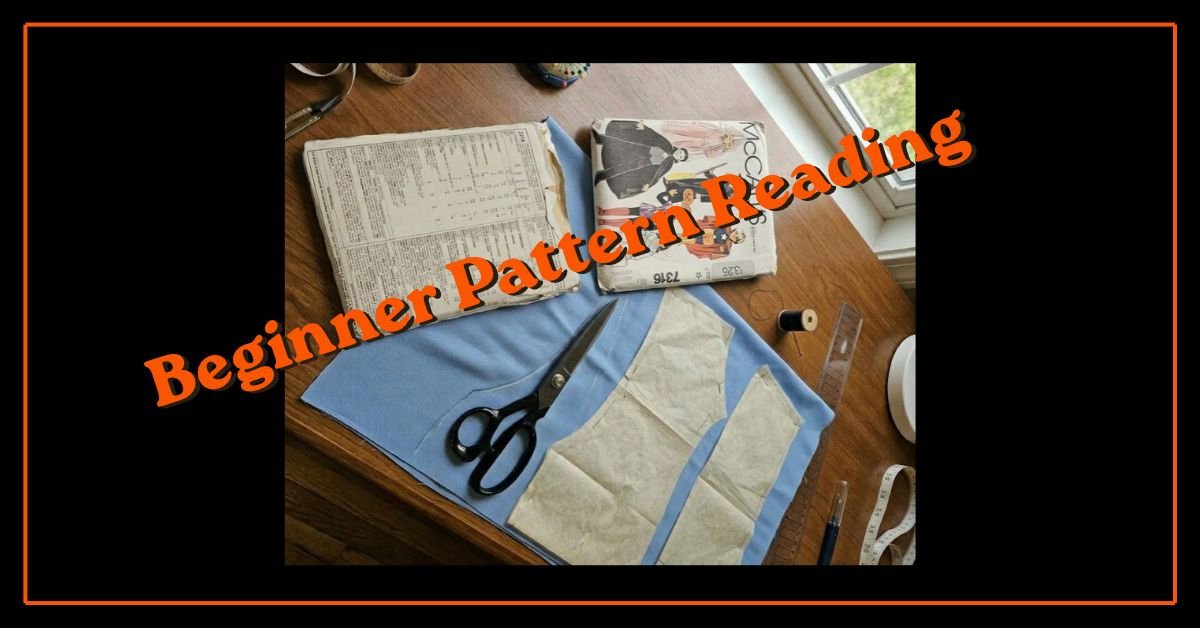
No matter what you are creating, commercial sewing patterns are invaluable roadmaps. However, for beginners opening an envelope full of thin tissue paper covered in unfamiliar lines, symbols, and abbreviations can feel like trying to decipher a foreign language.
Learning to read the pattern and understanding some of the basics will help you create your next cosplay build.
Step 1: Decoding the Pattern Envelope
Before you even touch the tissue paper inside, the pattern envelope serves as your primary reference guide for sizing, materials, and structural details.
The Front of the Envelope
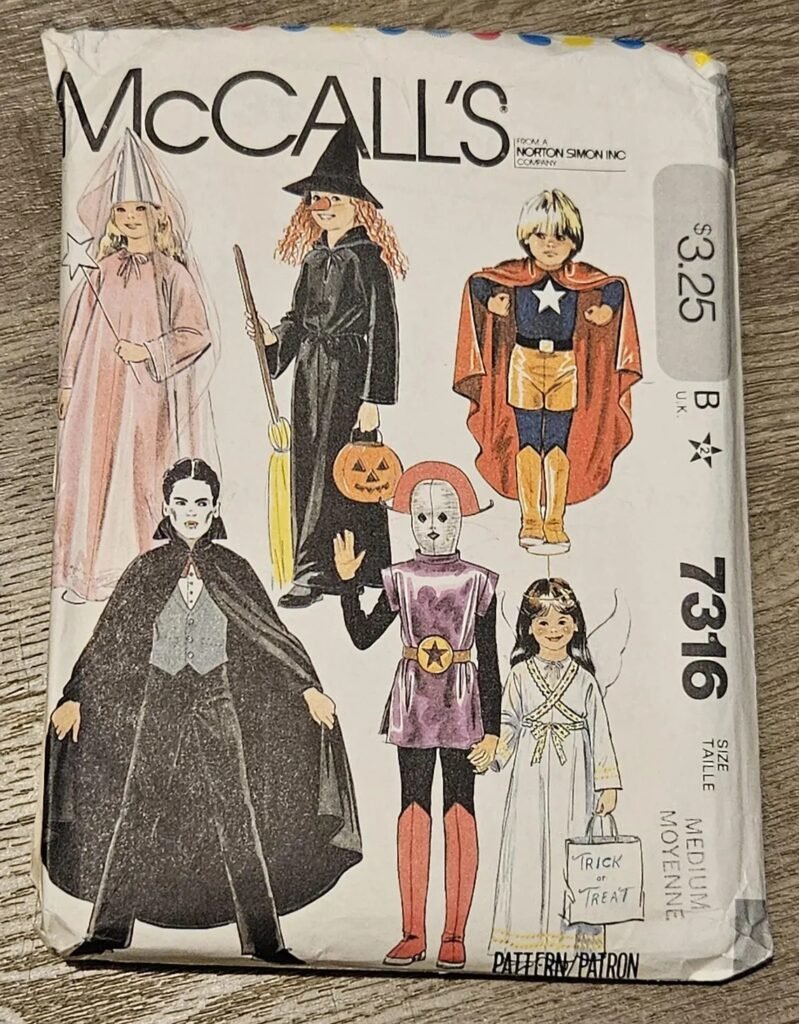
- Design Options & Variations: Commercial patterns usually feature multiple variations of a design, labeled as View A, View B, View C, etc. These variations may offer different sleeve lengths, neckline styles, or cuts. Identify which “View” closest matches the look you are going for before opening the pattern.
- Sizing Numbers: Do not assume commercial pattern sizes match your standard off-the-rack retail clothing sizes. A pattern size 12 often corresponds to very different measurements than retail sizing. Always refer to the measurement chart on the back of the envelope.
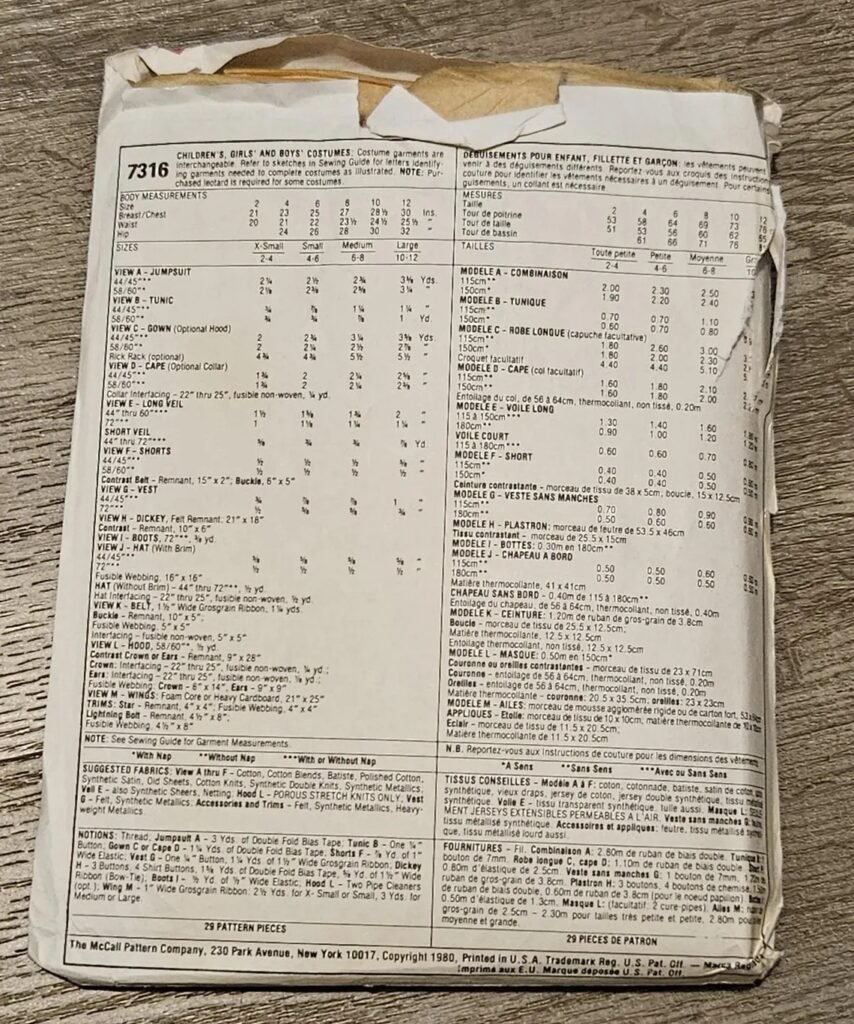
The Back of the Envelope
- Body Measurements Chart: Look at the chart for bust/chest, waist, and hip dimensions. Match your actual body measurements to the chart to determine your correct pattern size.
- Yardage Requirements: The back of the envelope lists the exact amount of fabric required based on your selected “View,” size, and fabric width (typically 45-inch or 60-inch wide bolts).
- Suggested Fabrics: Pay close attention to recommended fabric types (e.g., woven cotton, stretch knits, satin, twill). Using a stiff woven fabric for a pattern designed specifically for high-stretch knits will result in a costume that does not fit or move properly.
- Notions: This section lists all necessary non-fabric supplies required, such as zippers, buttons, interfacing, boning, hook-and-eye closures, or matching thread.
Step 2: Understanding the Key Pattern Symbols
Once you unfold the pattern sheet, you will notice a variety of printed symbols and markings across every piece. These symbols dictate how to cut, align, and construct your garment.
| Symbol / Line | Meaning | |
| Grainline Arrow | 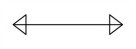 | Ensures your fabric drapes properly and stretches in the intended direction across body joints. |
| Place on Fold | 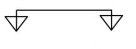 | Used for seamless front panels, collars, back pieces, and capes. |
| Notches (Triangles/Diamonds) | 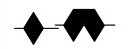 | Matches corresponding seams during assembly (e.g., front armhole to front bodice, double notches for back seams). |
| Adjustment Lines | 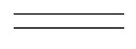 | Essential for tailoring proportions to fit your specific height and body frame. |
| Darts | 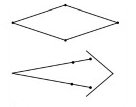 | Used to shape flat fabric around 3D body curves (bust, waist, hips, and shoulders). |
| Dots & Crossmarks |  | Marks precise locations for pockets, zippers, gathers, or collar placements. |
Step 3: Navigating the Instruction Sheet
Every pattern includes an instruction booklet or guide sheet. Follow these key steps to streamline your assembly process:
- Study the Layout Diagram: The guide includes cutting layout diagrams showing how to efficiently arrange your pattern pieces on the fabric based on your size and fabric width.
- Identify the Seam Allowance: Standard commercial patterns usually include a 5/8-inch (1.5 cm) seam allowance unless stated otherwise. Always verify the default seam allowance before pinning and cutting.
- Check the Seam / Stitch Sequence: Follow the step-by-step assembly order. Skipping steps or sewing seams out of order can make attaching collars, sleeves, or linings significantly harder later in the process.
Pro-Tips for Cosplayers
- Always Make a Mockup: Before cutting into expensive or specialty fabrics (like faux leather, brocade, or heavy velvet), sew a test draft using inexpensive muslin or scrap fabric. This allows you to adjust the fit, alter hemlines, and practice complex steps without ruining your final material.
- Trace Your Patterns: Avoid cutting directly into original tissue sheets. Trace your desired size onto butcher paper or tracing paper. This preserves the original master pattern so you can reuse or resize it for future use.
- Transfer Markings Accurately: Use tailor’s chalk, washable fabric markers, or tracing wheels with carbon paper to transfer all notches, dots, and dart lines to the wrong (inside) side of your fabric before removing the paper pattern.
Mastering pattern reading bridges the gap between reference art and a wearable, well-fitted costume, giving you full creative control over your custom cosplay builds!