Laird of Cosplay has been known to create some fantastic characters, props and costumes. One of his past cosplay projects is Hordak from the original She-Ra: Princess of Power animated series. He has let us share part of the process.
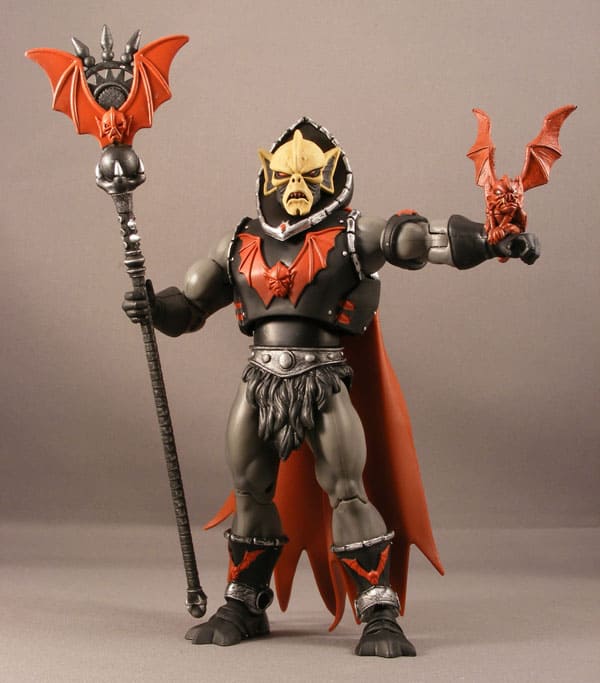
Hordaks Staff
Laird – I had been asked by some other cosplayers on how I do my foam work. So here is a step-by-step tutorial of how I made the staff for the Hordak costume.
To start with, always have a good concept of what you wish to build, and to make sure you have your thoughts correct, a quick sketch always helps. I had sketched out this piece and now it is time to build.
These are the tools I used for this project:
- 0.5 Millimeter Mechanical Pencil
- Scissors
- 2 different sized box cutters
- Sharpie
- 400 grit Sandpaper
- Hot Glue gun
- Dremel
- Heat Gun
- 1/4 sheet Palm Sander
- Small pair of long nosed pliers for picking of small pieces of dried excess glue or errant bits of foam.
I started with a template I made for my chest piece but for this project, the same template will be fine as it is the size I needed for my Staff Topper. Always make yourself a template if you are going to make multiple pieces or complex shapes.
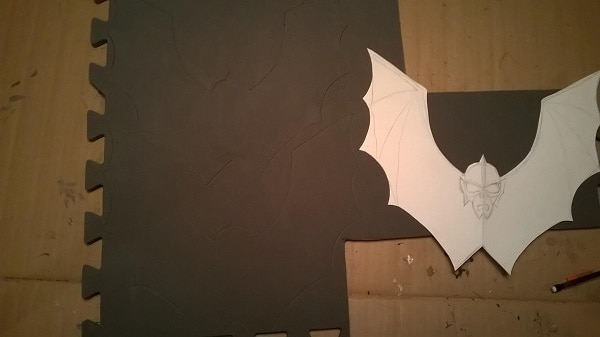
In this photo you can see I have traced the template onto the foam twice, using the .5 MM pencil.
I then cut the 2 pieces out carefully using the scissors and small box cutter (always make sure you are using a very sharp blade or you will have a rough edge that will take a lot of cleaning up.)
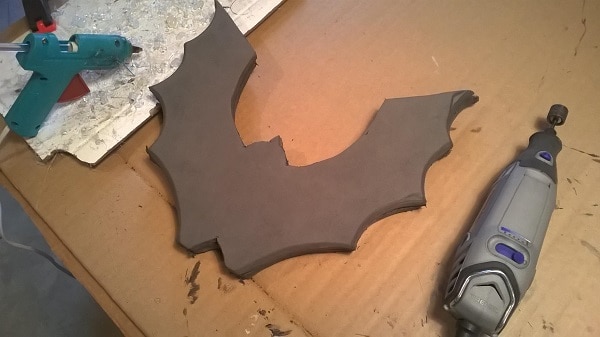
After cutting the pieces out, I used hot glue to glue the 2 pieces together back-to-back. Though no matter how carefully you cut the pieces out, there will always be some mismatch of edges.
Using the Dremel and a fine sanding wheel, I cleaned up the edges of the piece so they matched nicely.
You can see from the photo the edges match. I then used the 400 grit sandpaper to clean up the sanded areas even more.
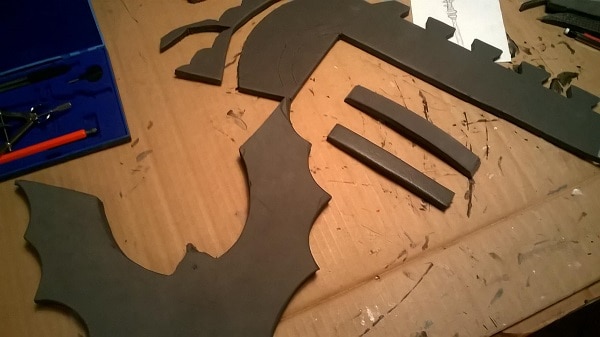
I cut out a couple of strips of foam, checking against my sketch for proper appearance. I then glued the lower one in place making sure my arc was nice and even.
Once it was secured, I placed the second arch in place without gluing it in order to make a template for the sun rays that are to go between the two arches.
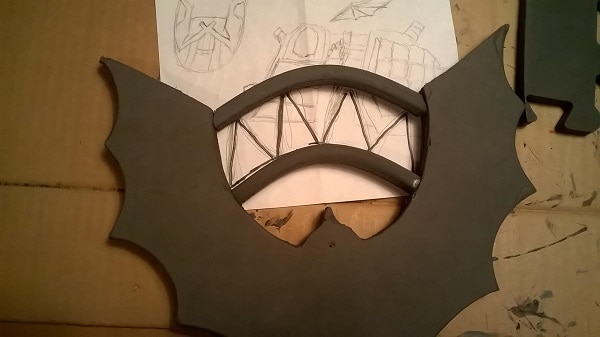
Using a bit of scrap paper and a pencil, I sketched in what looked correct to me. Once I was happy with the pencil lines, I used the sharpie to make the cut lines nice and dark. I then cut out the paper template and used it to trace the parts onto the foam.
Then cutting them out, I fitted them and glued them into place, and added the top arch, gluing it in place this time.
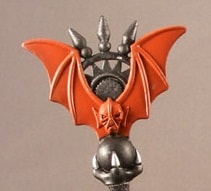
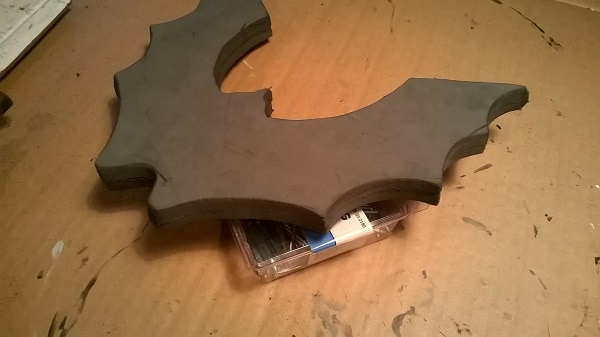
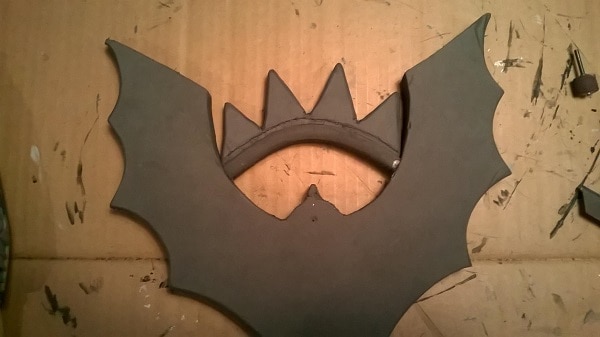
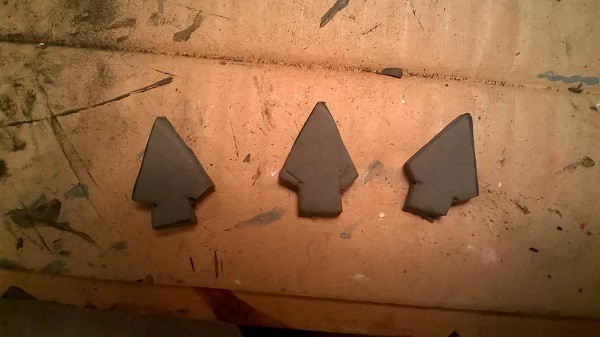
With that work finished, I moved onto making the balls and spear heads that are to sit atop the top arch frame. This is where saving some of your scraps comes in handy. I used the scrap puzzle-shaped pieces that were trimmed off the sheet I was working from and roughly cut them into a circular shape.
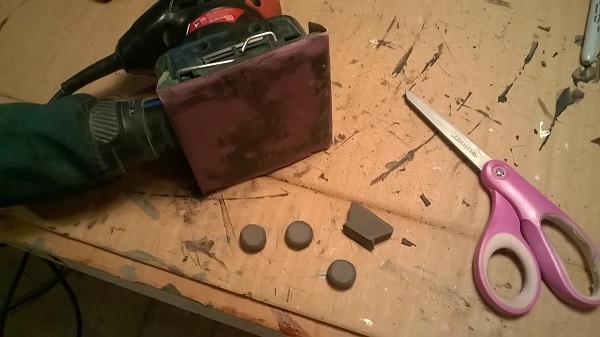
Once they were roughed out, I carefully cleaned them up with the Dremel then finished them with the palm sander. By placing the sander upside down in my lap, I was able to manipulate the small pieces of foam to get a better shape. Above, you can see a picture of the puzzle piece of scrap I had mentioned earlier.
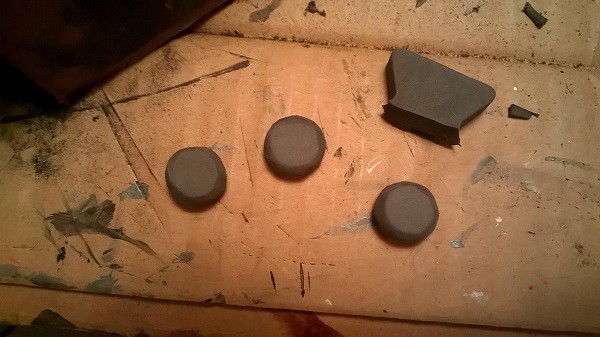
When finished they looked like this.
Again using scrap, this time the triangles I cut away from my sun rays were used to make the spear heads that are to sit on top of the foam balls we just made.
I drew one out using the Sharpie then used that as a template for the other 2 using the .5 MM pencil to scribe the shape into the foam before cutting with the scissors.
Once the shape was roughed out, I refined the edges using the Dremel rounding the bottoms and trimming the edges.

Gluing the balls in place on the arch, I then glued the spear heads to the balls.
The next step is to make the faces for each side of the bat wing. This where it gets more fun as everything has to be made twice.
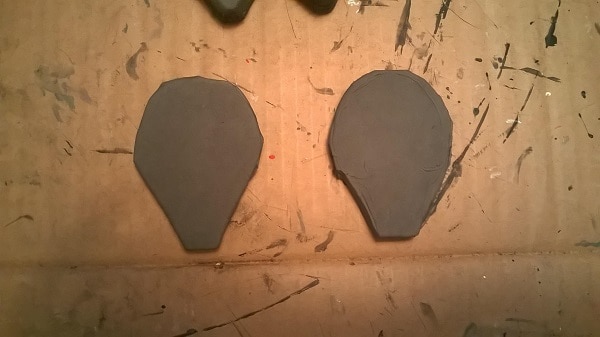
By cutting out a teardrop-shaped piece then using it as a template to cut out a second one. Once they were both cut out, I held them together back to front and trimmed off any excess that would make one bigger than the other.

Using the .5MM pencil, I scribed the face into the first foam piece, pressing hard enough to leave impressions into the foam. For the nose I pressed harder making sure the lines were deep enough to stay permanently. With the features now scribed in, I used a cone-shaped grinding stone on the Dremel and cut away the excess foam giving the piece more life and shape.
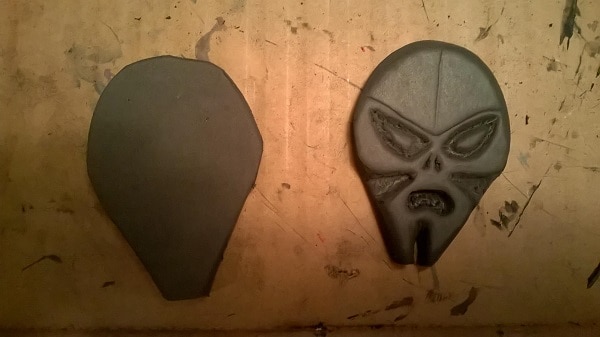
After I was satisfied with the Dremeling job, I used the heat gun on the high setting to carefully fan the piece and smooth out the areas that were Dremeled, leaving the effect that you see here. I repeated the process for the second head.
Now the faces need to be affixed to the bat wing. Make sure you check your spacing and sizing before you glue. Then apply your hot glue and hold firmly for 20 seconds. That should be long enough to make sure it will not shift.
With the faces affixed to both sides, it was time to make the Mohawks crests. These again were made from scrap as they are very small and glued to the faces on the line down the middle of the top of the head, securing them to the center of the spike on top of the rounded portion of the bat wing.
Next it’s the ears. I needed to make 4 of them as there are 2 faces. They again were carefully cut from the puzzle pieces of scrap foam and shaped using the cone-shaped stone on the Dremel.
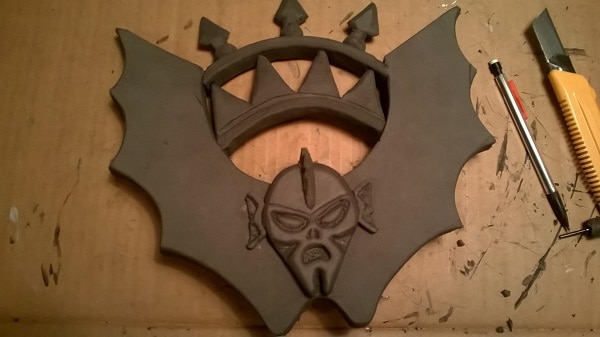
When they are ready, glue them to the face and bat wing; it should look like this. You can also see some of the detail in the face in this photo that was done with the .5 MM pencil.
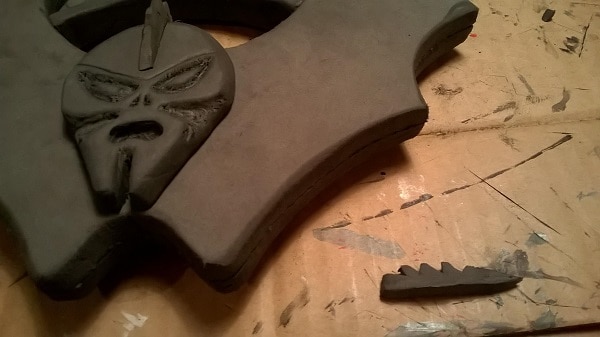
Now we are ready for the final stage of the piece, adding the bones to the wings. Cut thin strips of foam first long enough to go from the head to the wing tip along the top of the wing, carefully gluing and aligning it as you go. I normally do this only a bit at a time to keep my lines even.
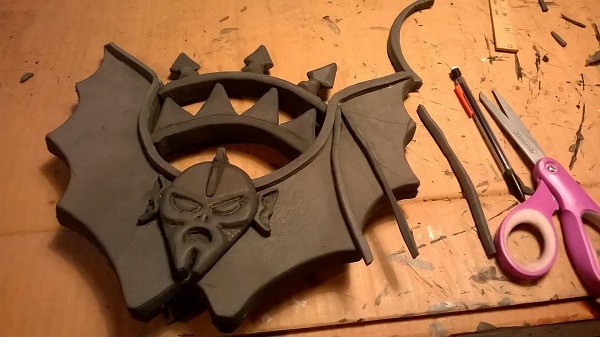
With the upper bones on, you can move to the ones that run through the wings. Start by lightly drawing a line on the foam as to where you want the bone to be placed, then cut more thin strips of foam to fit after gluing trim the excess off on a slight angle to give it a better look. Remember you have to do both sides.
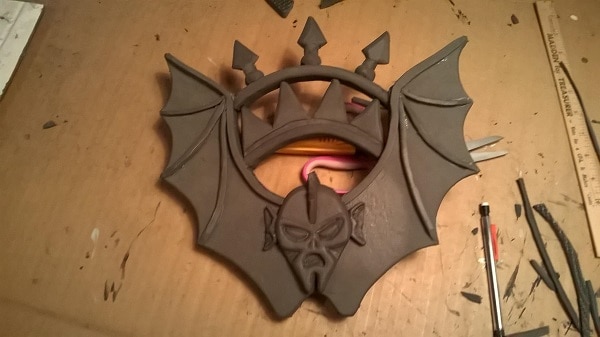
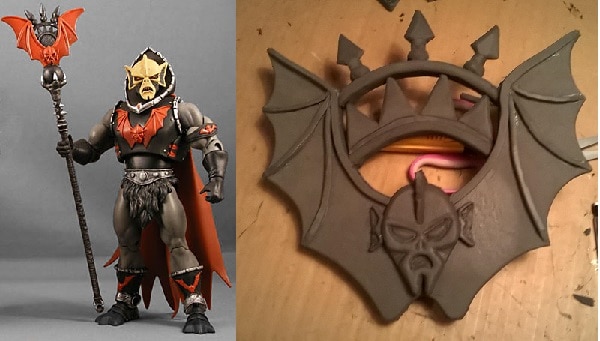
This is what it should look like when it is completed. Now it should be ready for paint prep and painting. In my case, there are more pieces to build that will need to go below this before it is attached to my Hordak Staff. But here you have it from a sheet of flat foam to a 3D piece you can hold and enjoy. – Laird
Click here for Other Cosplay 101 articles
To see where you want to cosplay next
be sure to check out our Cosplay Convention List!

Original Article posted on PopCultHQ.com in 2015